下駄箱の扉製作
|
 |
 |
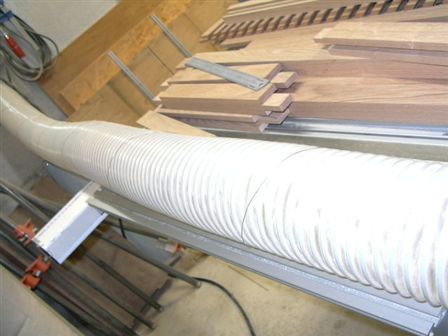
| ルーバー作りと平行して 扉の部材作りもしていました。 今回 スロット類はすべてコントソーで溝掘り。 ’05.12.〜 |
框組みとしますが 何と言うのだろう 相欠きほぞとでも言うのでしょうか。 ほぞもコントソーで。 |
 |
 |
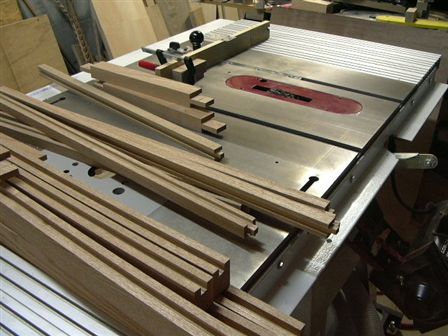
| はめ込む板を取ります 手押しの威力は絶大ですが 未だ調子がつかめず 時間が掛かる。 |
片面を出せば 自動で分決め。 |
 |
 |
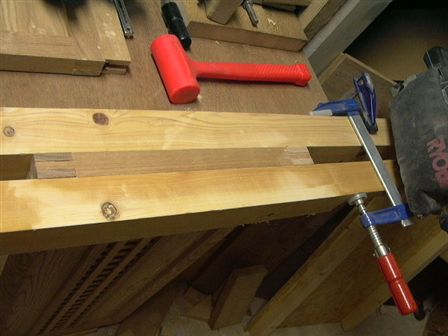
| 手順確認の為 1枚組んで見る まぁまぁ。 |
寸法の手直しは やはり手道具 微調整はコレ。 |
 |
 |
| 残りの2枚も組んで行きます。 |
どうも ほぞをきつめにする傾向が有るので 最後はぎゅっと締め上げ。 |
 |
 |
| 「想定内」の出代をサンダーで摺り落とす。 大きなエッジサンダーなどが有れば 簡単なのでしょうが 工夫したのも簡単な面出しジグ。 結局はシンプルがベストかも。 |
左ではサンダーの大きさから クランプに干渉してうまく摺れないので ベースは太い角材にしました 安定が出て良い。 |
 |
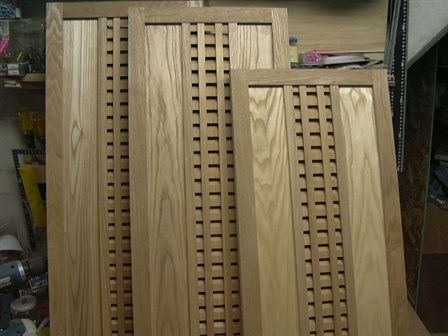 |
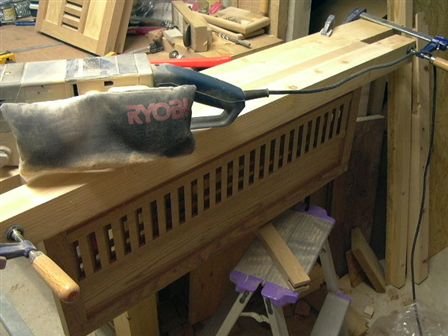
| 長手方向は 調整も難しい サンダーの送りは 大きく削りたい時 木目45°で左右に振る その後木目に沿わす。 しかし うちのサンダー 相当すごいなー |
何とか 格好になりました。 材はタモ ルーバーはアガチスです。 ’06.01.03. |